Contact-free cleanliness inspection of parts’ surfaces
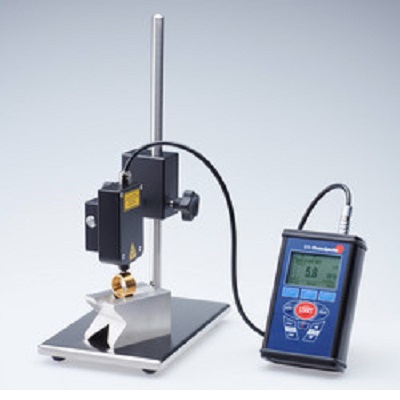
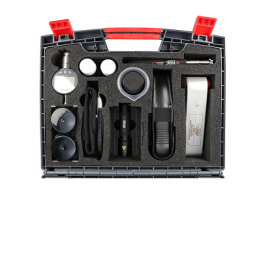
The hand-held measuring device SITA CleanoSpector is highly suited for cleanliness inspection of parts to assure product quality as well as follow-up processes such as adhesive bonding, coating, welding, hardening and bonding.
Unwanted, filmic contamination such as oils, greases, cooling lubricants and release agents are measured by determining the fluorescence intensity.
The SITA CleanoSpector is easy to use and optimal for quality assurance directly in the manufacturing process.
Features
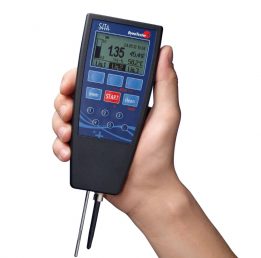
Mobile and robust device for flexible use at the process and in the laboratory
Intuitive operation: simple and fast operation at the push of one button
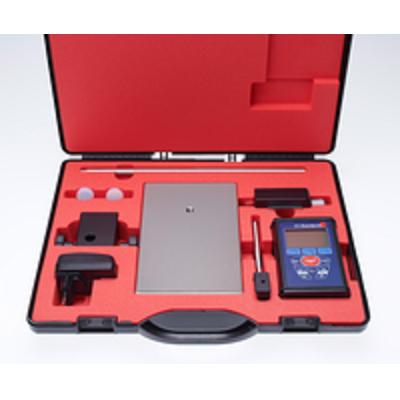
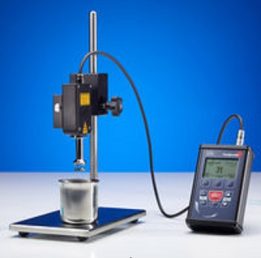
Device with easy to handle sensor head and display unit enables measurment with a small contact area as well as different application possibilities
Check and adjustment with calibration standards
Measuring Principle
The measuring method uses the characteristic of organic substances to fluoresce. UV light is focused and radiated onto the surface. The contamination fluoresces. The intensity of the fluores-cence increases with the layer thickness of the contamination. The intensity is measured in RFU: Relative Fluorescence Unit.
The lower the measuring values in RFU, the cleaner the surface.

Applications
For 10 years the SITA CleanoSpector is used successfully and worldwide in various applications and industries:
| • | Cleanliness inspection of metal parts after machining |
| • | Inspection of functional surfaces after selective cleaning (laser cleaning, ultra-fine plasma cleaning, CO2 snow blasting, …) |
| • | Inspection for residues of release agent on aluminium die-cast parts prior to adhesive bonding |
| • | Monitoring the cleanliness of metal parts before laser welding |
| • | Inspection for filmic contamination on parts in medical- or vacuum technlogy |
| • | Detecting residual agents and encapsulation material on bond pads before bonding |
| • | Surface inspection on electrical contacts after stripping of isolation material |
| • | Inspection for sufficient layer thickness when applying corrosion protection oils or when applying a primer prior to adhesive bonding |
Technical Data
| Fluorescence intensity | |
| Measuring range | 0…2,000 RFU (Relative Fluorescence Unit) |
| Max. measuring deviation | 0.5 % of measuring range |
| Resolution | 0.1 RFU |
| Sensor optics | |
| Excitation | 365 nm, max. 150 mW |
| Detection* | 460 nm |
| Measuring point* | D=1 mm |
| Measuring distance* | 4.7 mm |
| * standard values | |
| Cleanliness | |
| Measuring range | 0…100 % |
| Resolution | 0.1 % |
| Layer thickness | |
| Measuring range | user-defined |
| Power supply | |
| Li-Ion-battery | 3.6 V/1,950 mAh, min. 8 h operating hours |
| Mains adapter / USB | 100…240 V / 5 V |
| Power consumption | 2.5 W max. |
| Interface, memory, dimension, weight | |
| USB-interface | Data transfer |
| Display | LCD, illuminated |
| Measuring profiles | 254 |
| Memory | 8,000 measuring values per profile |
|
Dimensions (HxWxD) Sensorkopf |
Hand-held device: 129x82x48 mm Sensor head: 95x50x30 mm |
| Weight (device) | 530 g |
